

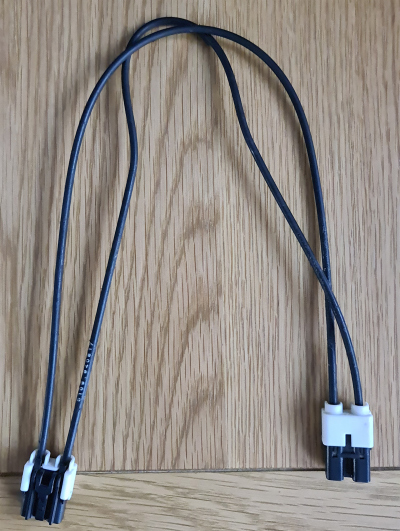
When adding new modules into your 'telematics' stack (Bluetooth, CD changer, DVD navigation, Voice Control, etc) it will be necessary to add additional connectors into the D2B fibre optic link cable. Sourcing replacing cables with the correct number of connectors can be an expensive process.
This guide will take you through the process of modifying your existing cable and adding extra connectors.
Note: The connection order of the modules on the D2B loop is not important. However, the published order can be found here.
Scenario: You have a CD Changer and Sat Nav but want to add Bluetooth into your telematics stack. You need a 4-way D2B fibre optic cable but only have a 3-way (1 for CD Changer, 1 for Sat Nav and 1 for to connect to the D2B boot feed).
Requirements:
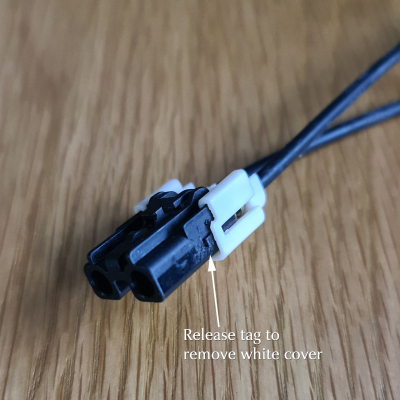
First you need to remove one fibre from your link lead. A plastic lug holds the white plastic sleeve in place on either side. Gently lever up the white sleeve over the lug on both sides and slide off.
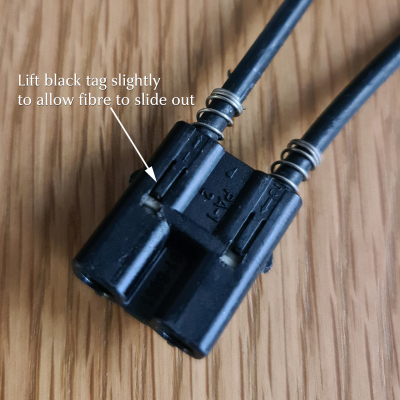
Then gently lift the black plastic tag that holds the fibre in position. It doesn't need to lift much in order to slide out the fibre.
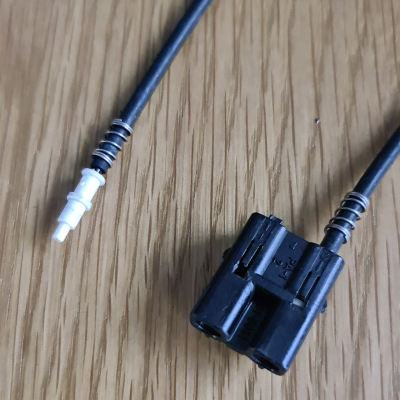
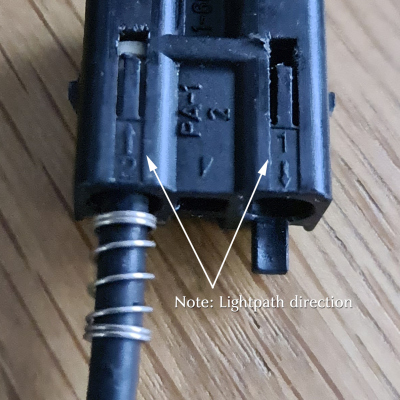
Notice that each connector shows the lightpath direction, ie. In or Out. The D2B network is a closed loop. It starts transmitting at the CD/Radio headunit and through to the boot and into the first device in the loop. This device then re-transmits the signal to the next device and continues on its in and out cycle until it ultimately returns back to the headunit.
When inserting the extra connector into the existing cable, make sure you follow the IN -> OUT data flow. You will only need to disconnect one fibre in the existing loop. This then slides into the corresponding 'pin' in your new link lead. The remaining fibre on the new lead then slides into the plug from your existing cable to complete the loop.
This document has been compiled for www.X-Type.uk and the content and/or layout is copyright © 2018-2026 X-Type.uk. All Rights Reserved.